
navMSU - Sync Calendar
The first step in setting up your availability in navMSU is to sync your Outlook calendar with the navMSU platform. This ensures that appointments scheduled in navMSU align with your professional calendar and helps prevent double bookings.
- Appointments created in navMSU will automatically sync to your Outlook calendar.
- Availability must be created in navMSU. You cannot mark times as available directly in Outlook.
- Existing events and events created in your Outlook calendar will appear as busy in navMSU and will prevent students from scheduling during that time.
- Students are unable to schedule appointments during their class times.
- For more details about how Outlook settings impact your navMSU availability, review the Outlook Calendar Configurations.
Setup Calendar Sync in navMSU
- Select the calendar icon on the left side toolbar within navMSU.
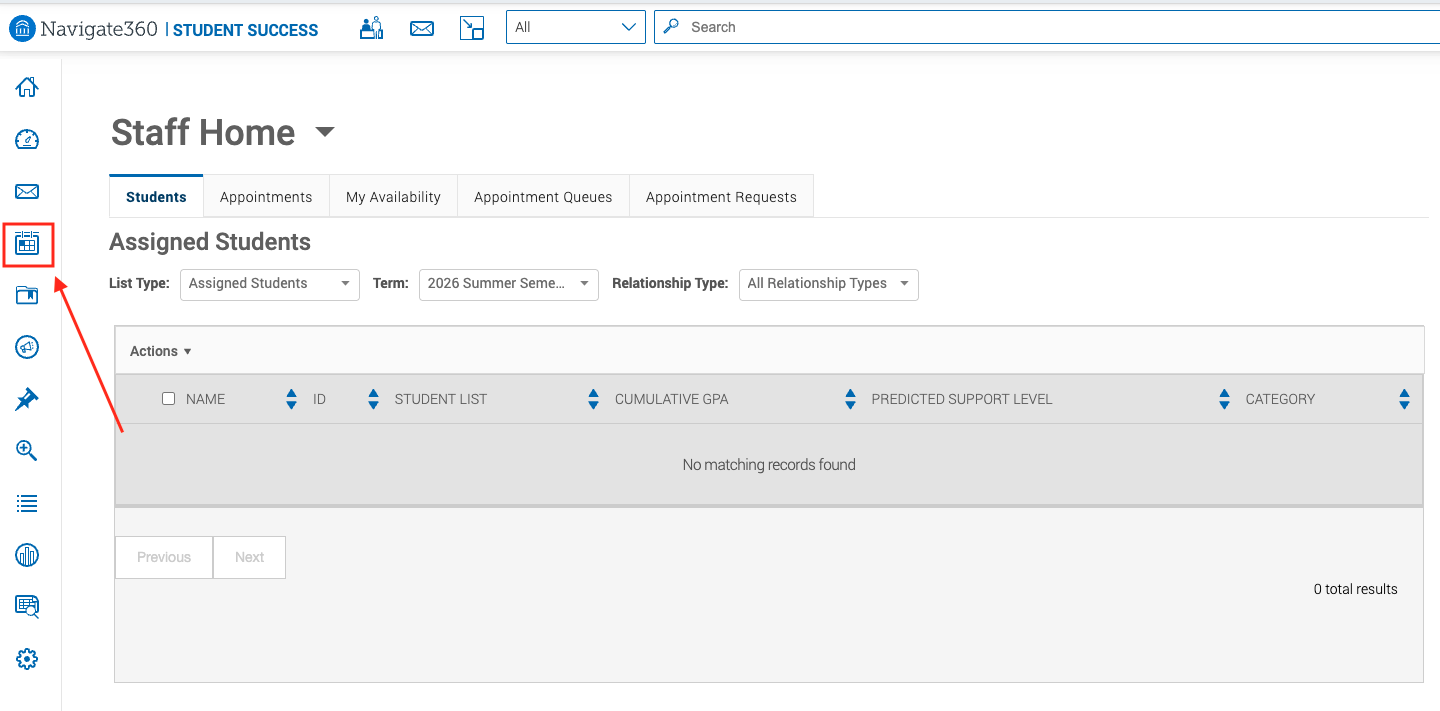
- Select Settings and Sync on the top right of the page.

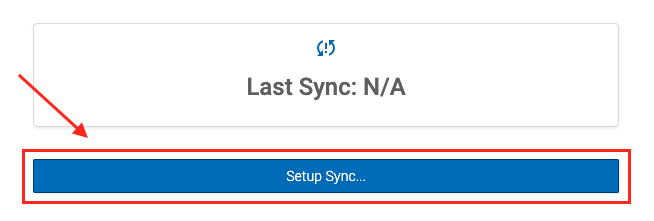
- Click the blue Setup Sync..
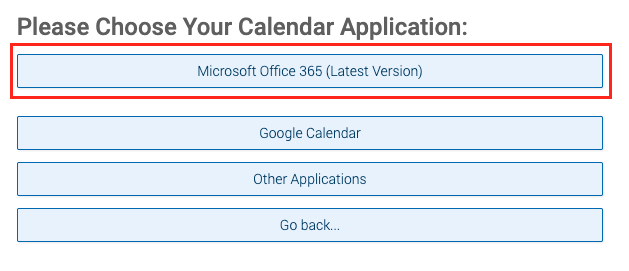
- Select Microsoft Office 365 (Latest Version).
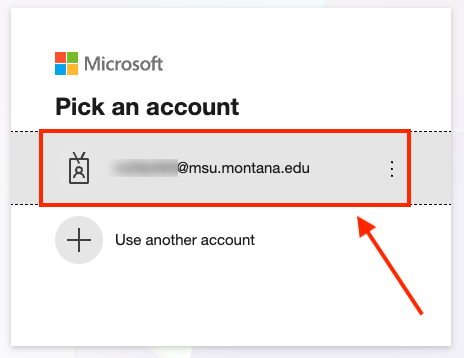
- You will be routed to login.microsoftonline.com to sign in to your account. After signing in, Office365 will ask you to grant permission
for the application to access your calendar. Selecting Accept will authorize and begin the sync.
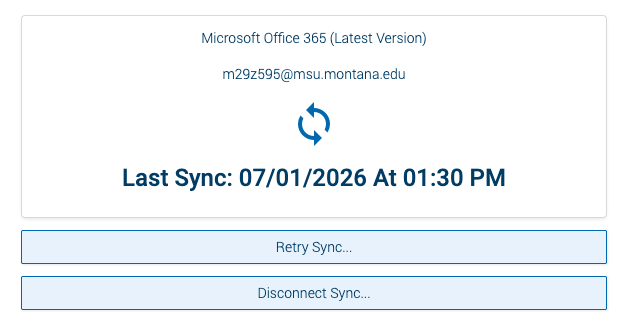
- Once the sync is completed, the browser will return to the calendar settings page
and will display the sync information.