
navMSU - Appointment Availability
Appointments in navMSU allows staff and faculty to share their availability with students. Availability can be set for scheduled appointments, drop-in visits, and appointment campaigns. You can also sync your Outlook calendar with navMSU so that appointments appear in Outlook and busy times are automatically blocked in navMSU. For sync instructions, refer to the Sync Calendar documentation.
Setting Up Your Availability
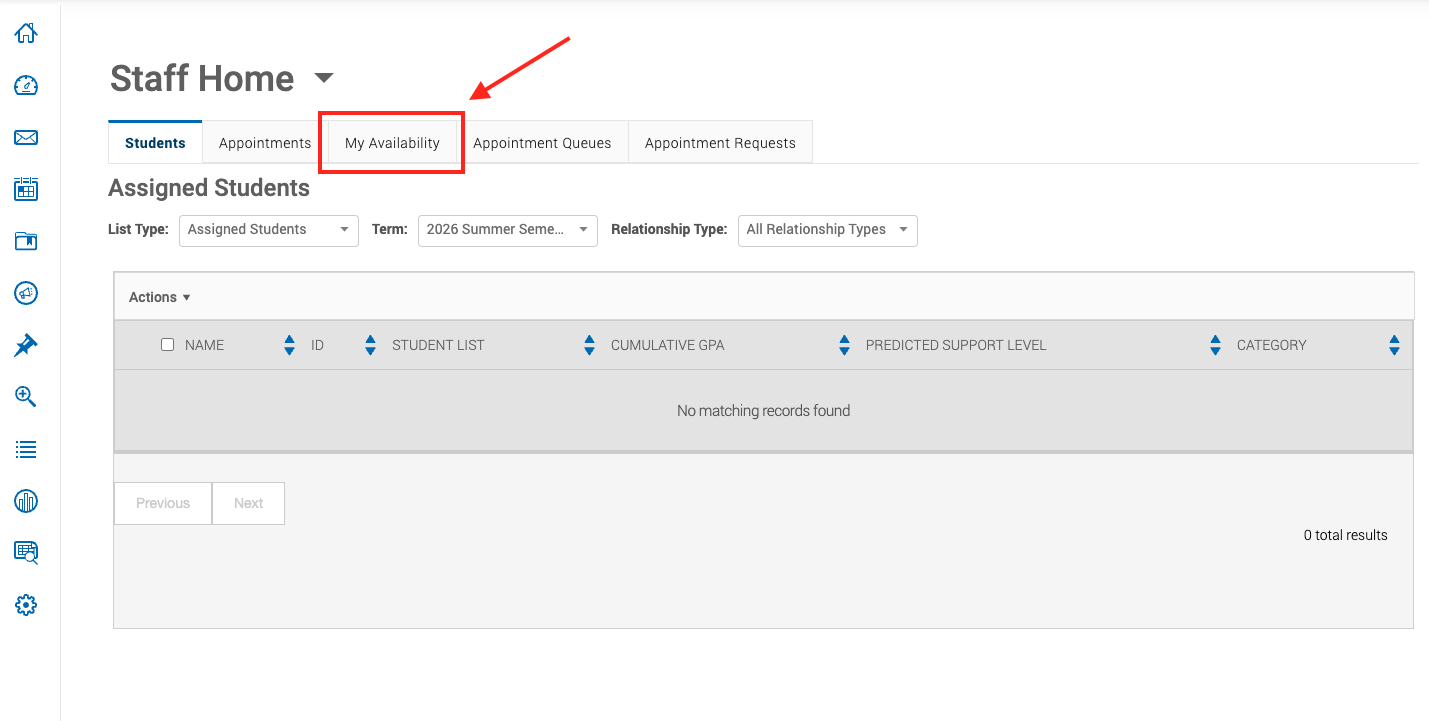
- Select My Availability tab from the staff homepage.
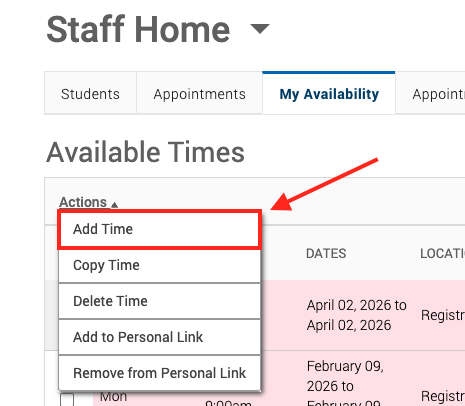
- Click the Actions drop down and select Add Time. This will open the Add Availability dialog box.
- Select the days of the week and timeframe you’re available for appointments. If your schedule differs by day, create separate
availabilities for each schedule. Instructions for creating multiple availabilities
is included below. For example:
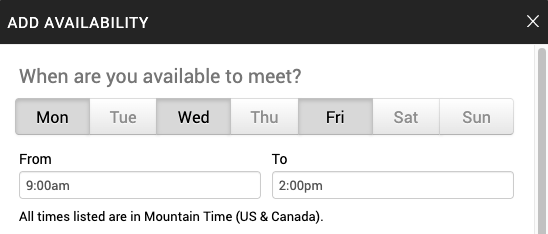
- Availability 1: Mon, Wed, Fri 9:00am-2:00pm
- Availability 2: Tues, Thurs 12:00pm-5:00pm
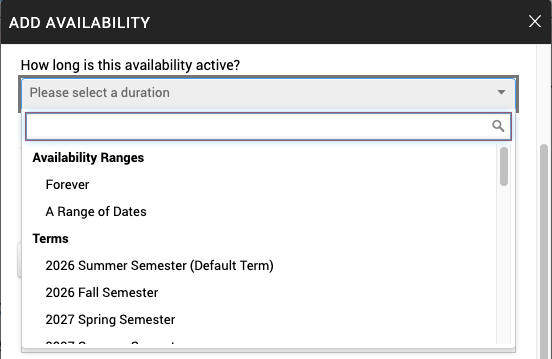
- Select the dates of your availability. You can set the dates for a specific semester, range of dates,
or forever.
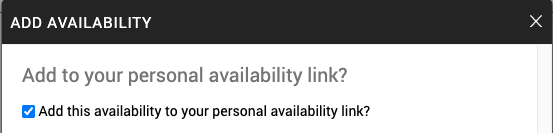
- Click the Add this availability to your personal availability link. This ensures your availability is visible to
students when you share your personal availability link (PAL)
- Select the type of appointments you want to offer from Appointments, Drop-ins, and Campaigns. You can select more
than one option.
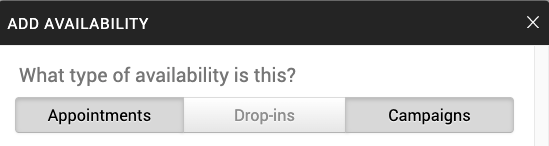
- Appointments: Share availability with your assigned students or the general student population through the navMSU platform.
- Drop-ins: Offer drop-in times for students (requires enabling the Drop-in feature at your location).
- Campaigns: Create or join targeted appointment campaigns for specific student groups that need
to schedule appointments. This must be selected to create an appointment campaign
or to be added to another staff member’s campaign.
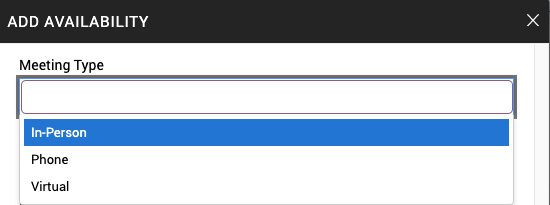
- Select In-Person, Phone, or Virtual meeting type. You can select more than one option, which allows students to choose their preferred
format when scheduling a meeting.
- Select your Care Unit, Location and Service(s). You can choose multiple services based on the student populations you support and
the types of appointments you want to offer students. For example:
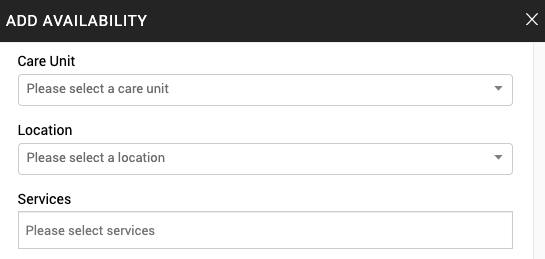
- Care Unit: Allen Yarnell Center for Student Success
- Location: Access & Success
- Services: General Success Advising – 30 minutes, Early Alert Advising, Montana 10
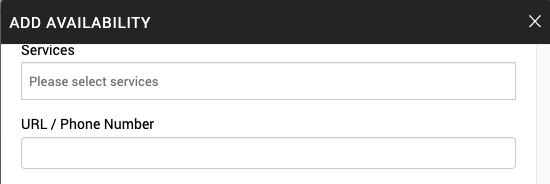
- If you plan to offer virtual appointments, you can add a link in the URL / Phone Number
field. We recommend leaving this field blank because anything entered in this field will appear at the top of the confirmation
email students receive, regardless of the type of appointment a student selects. This
may cause confusion for a student that selected an In-Person appointment.
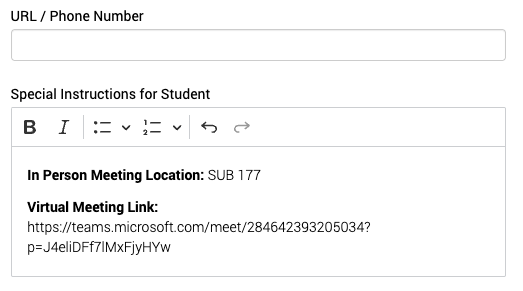
- As an alternative, we recommend using the Special Instructions for Students comment field to share both physical meeting details and virtual links. These instructions
will appear at the top of the confirmation email only if the URL field is left blank.
Regardless of whether you offer virtual appointments, be sure to include the physical meeting location.
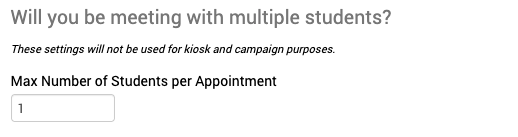
- The final step is setting the max number of participants for an appointment. The default is one student, but you can increase this number
as needed for group appointments.
Setting Up Multiple Availabilities
If you plan to offer different appointment times or services, you will need to setup multiple availabilities. For example:
- Availability 1: Mon, Wed, Fri 9:00am-2:00pm
- Availability 2: Tues, Thurs 12:00pm-5:00pm
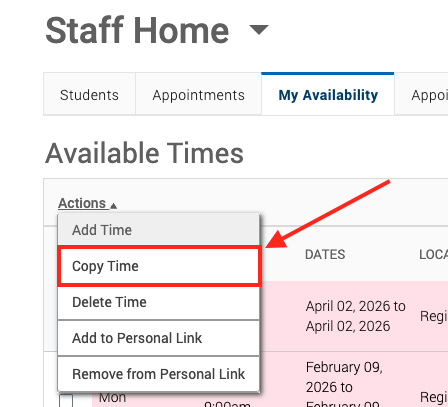
The Copy Time feature can help expediate the process by carrying over the preselected fields from the initial setup, allowing you to adjust only the details that need to change. Under the My Availabilities tab. Click on the checkbox next to the initial availability, click the Action drop down menu and select Copy Time. A new availability pop up window will open and you can adjust the fields as necessary.
Personal Availability Links (PAL)
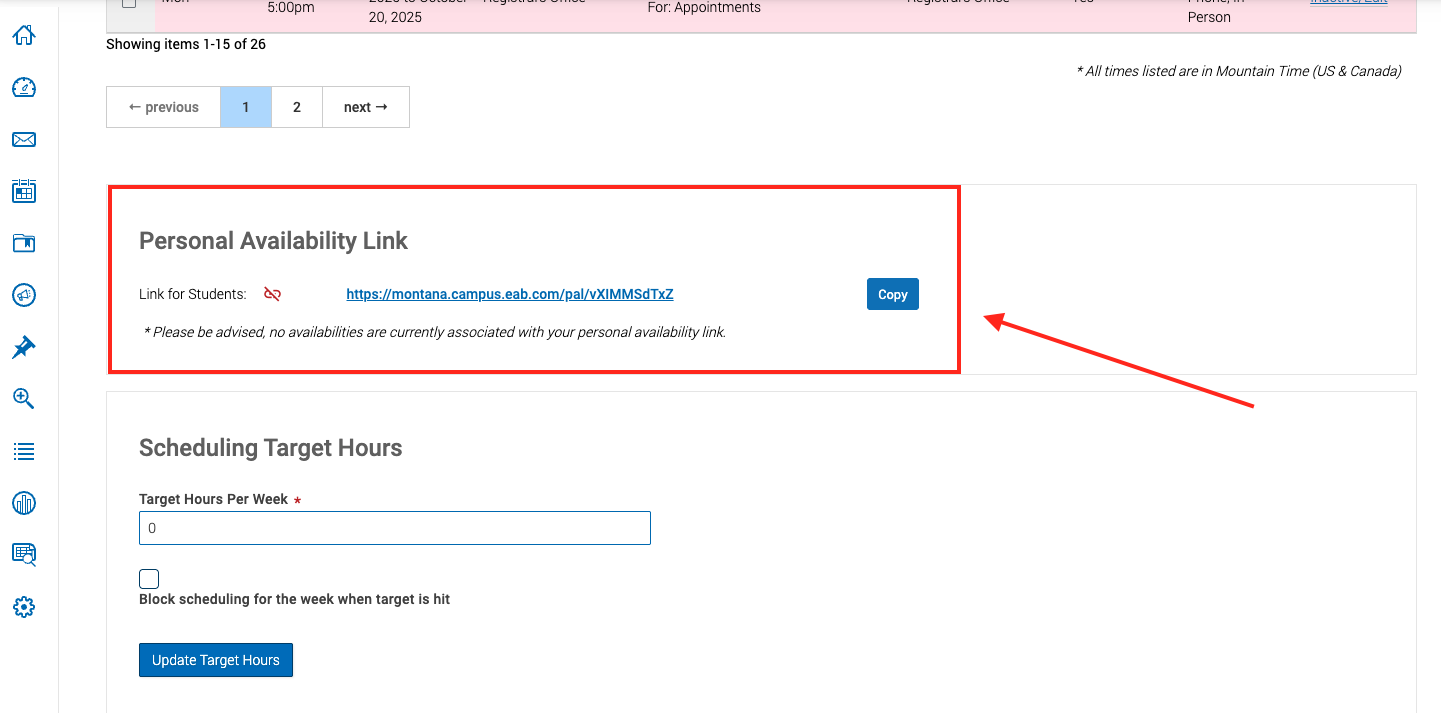
The Personal Availability Link (PAL) is unique to an individual staff member and can be shared with students to schedule directly with that person. To find your PAL, click on the My Availability tab and scroll to the bottom of the page.
The link auto populates the Care Unit and Location, and students will then select the Service type if you offer multiple options. They will also choose the day, time, and meeting type.