
navMSU - Appointment Center
The Appointment Center enables staff to manage appointments within an individual location. Depending on system configurations, multiple locations may be visible within the Appointment Center. This feature is designed primarily for front-desk staff and student employees who support departmental scheduling and appointment coordination.
To request access to the Appointment Center, please email bz-navsupport@montana.edu.
Accessing the Appointment Center
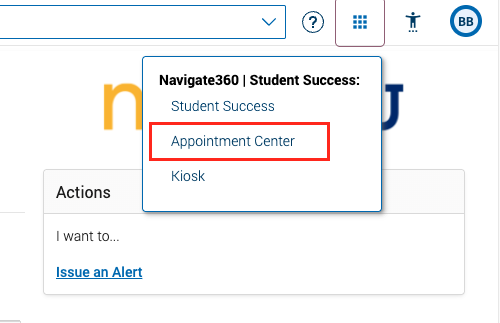
- Once Appointment Center access has been granted, a blue grid icon will appear in the
upper right-hand corner of the page. Click the grid icon and then select Appointment Center.
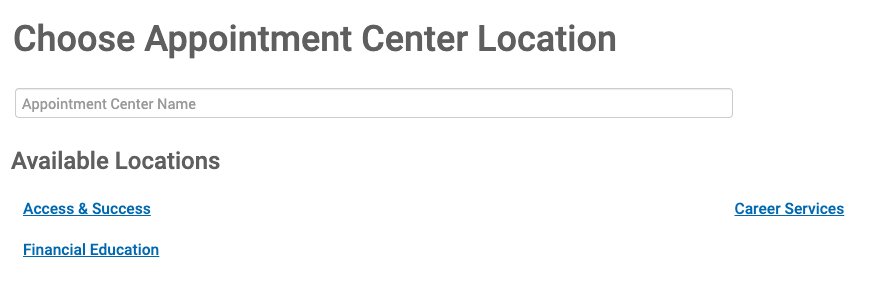
- Select the relevant location from the list of available locations.
- Each location includes a Scheduling Grid. The grid can be filtered by care unit, service, course, staff member, meeting type,
date, and time. Based on the selected filters, only staff members who match those
criteria will be displayed. It is best practice to filter by service before booking
an appointment to confirm the staff member is available for that service type during
the selected timeframe.
The calendar view can also be switched to a horizontal layout by adjusting the orientation option in the right-hand corner above the calendar.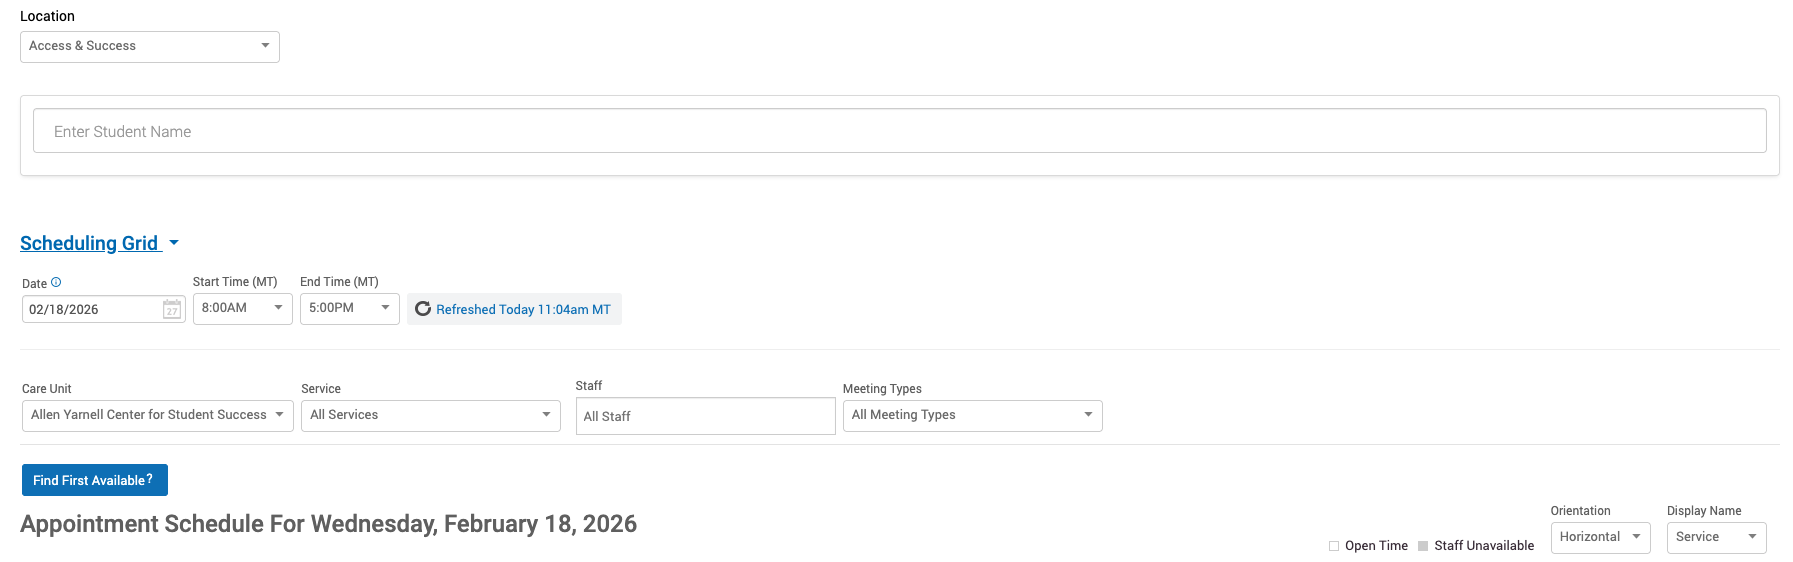
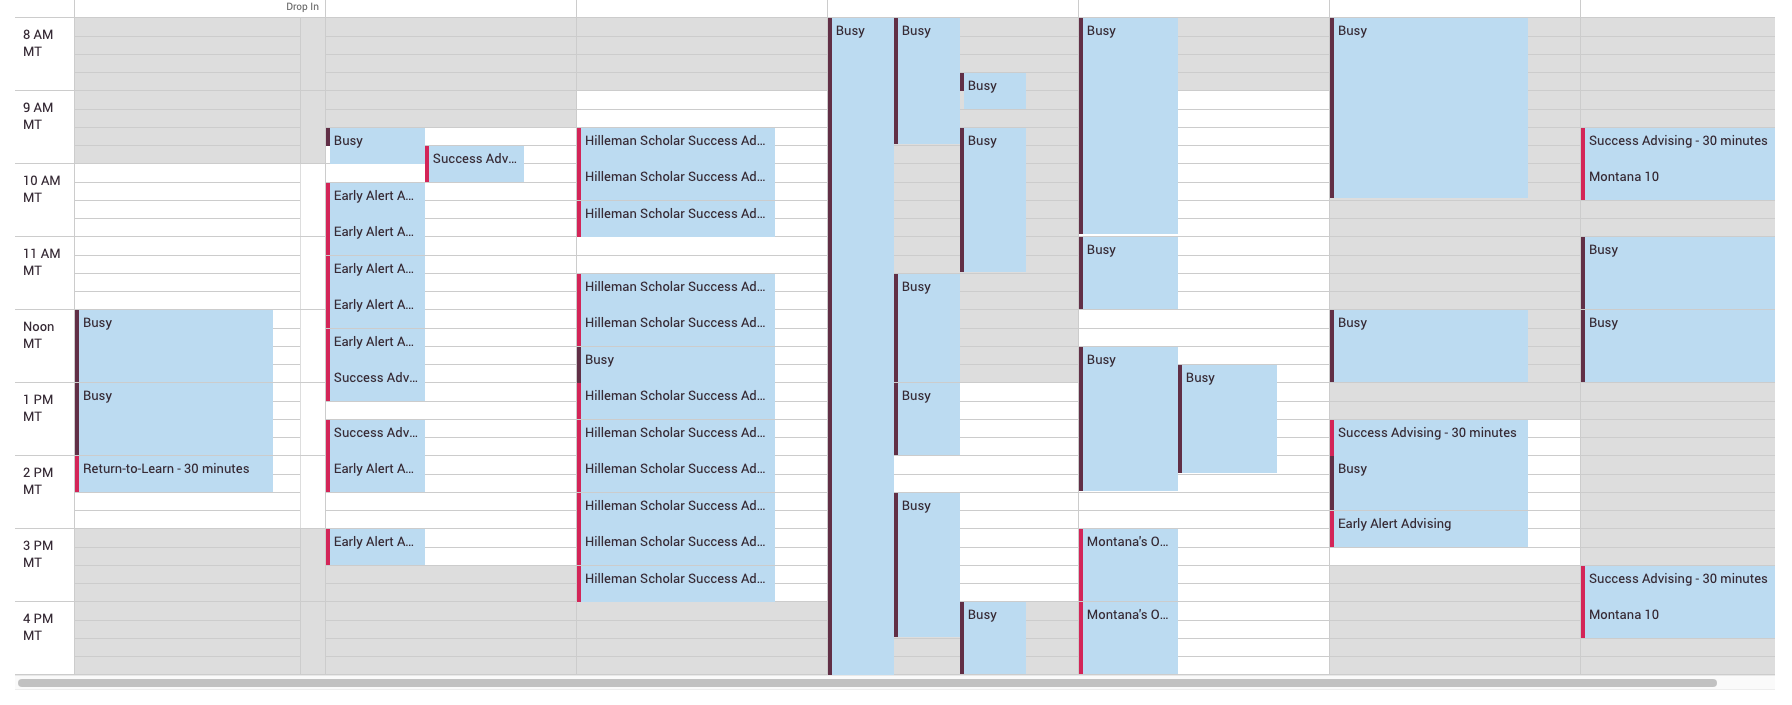
- Available appointment times appear in white, while unavailable times are shown in grey. Blue busy blocks are pulled from a staff
member’s Outlook calendar and indicate they are not available for appointments. Existing
scheduled appointments also appear in blue and display the associated service.
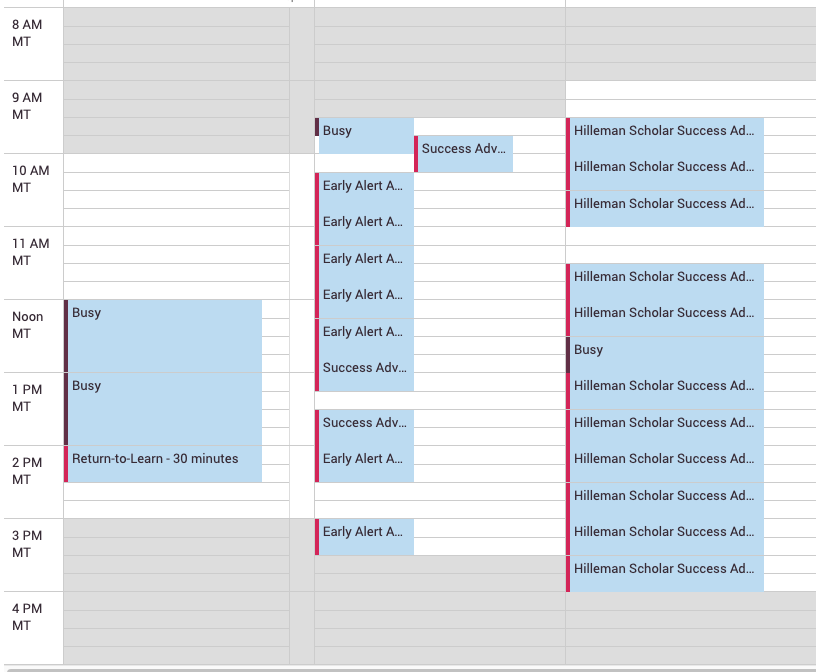
- To schedule a new appointment, click on a white availability block for the desired staff member. Select the relevant
details for service, meeting type, student information, and time. The default appointment
length will automatically adjust based on the selected service.
Please note that the start time is determined by where you click within the white availability block and may not default to the exact time you intend. Be sure to carefully review and confirm the start time before saving the appointment.
Add any additional comments and modify the notification reminders as needed. Click the blue Create Appointment button to save the appointment. Both the student and the staff member will receive appointment email confirmations.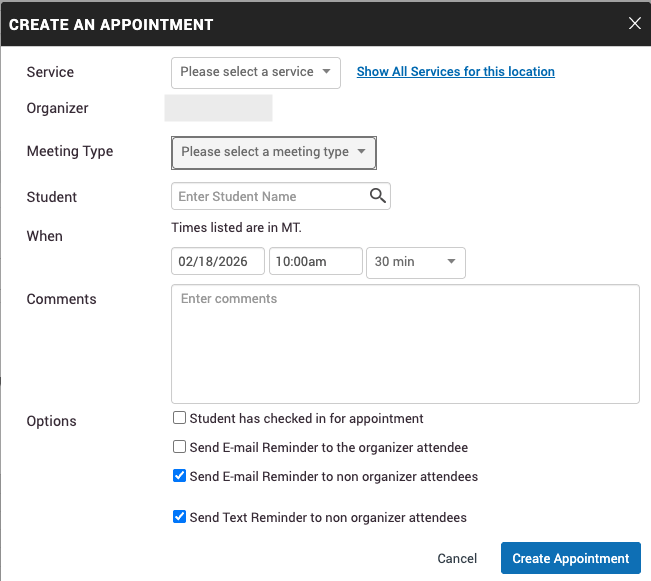
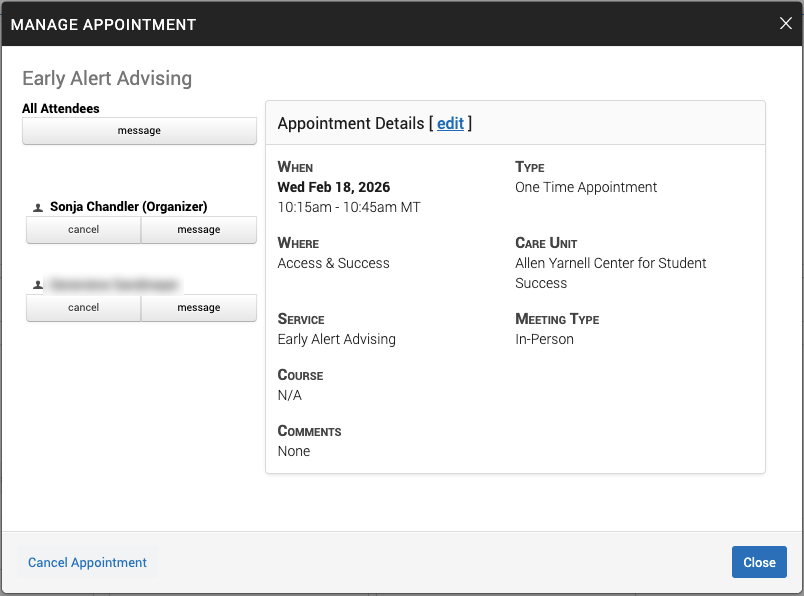
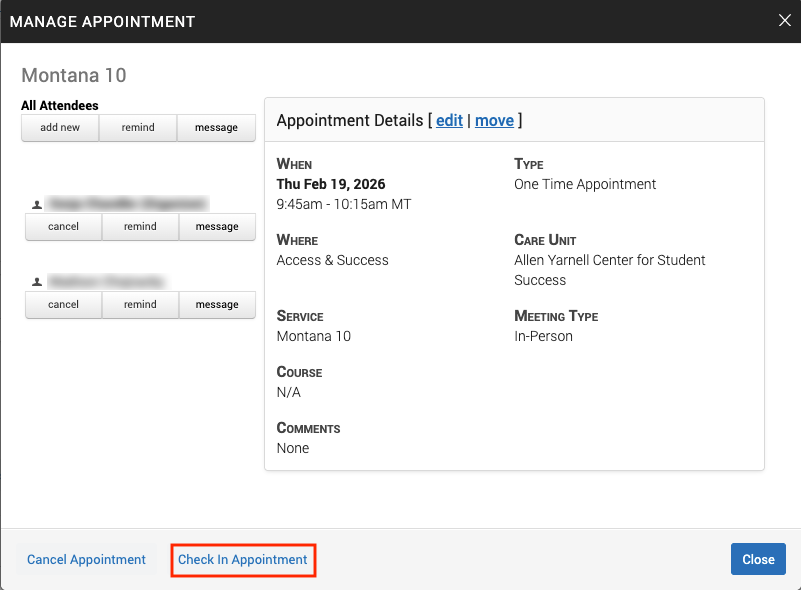
- There are multiple ways to edit an existing appointment. To make changes, click directly on the appointment in the Scheduling Grid. A pop-out
window will open and select edit next to the Appointment Details. This will open the staff scheduler, where a new
date and time can be selected. If the appointment needs to be canceled, select Cancel Appointment in the bottom left-hand corner of the pop-out window.
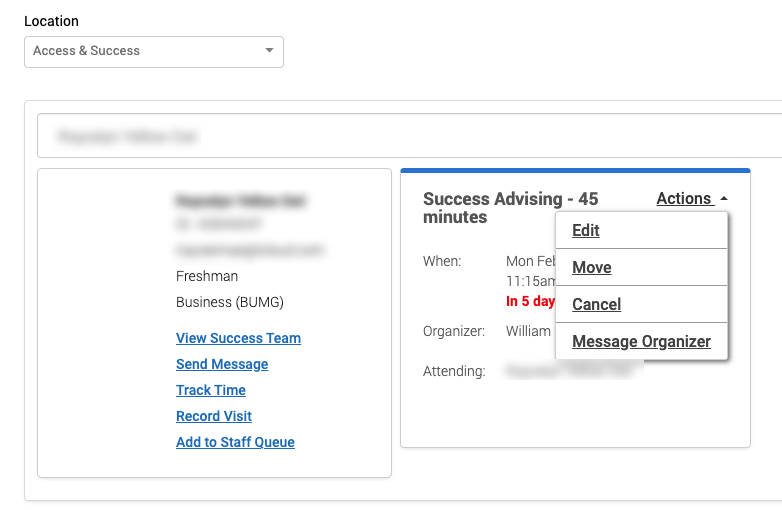
- Another way to edit an existing appointment is to enter the student name or full GID (including the dash) in the search bar under
the location listing. The appointment details will appear beneath the student name.
Select the Actions dropdown menu and choose the appropriate option.
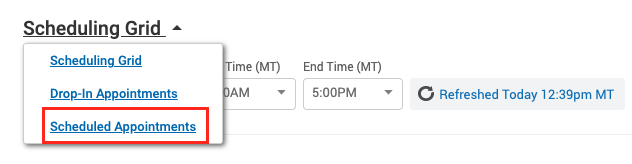
- The Scheduling Grid can also be changed to Scheduled Appointments for a list view of upcoming appointments, in progress appointments, and recent appointments.
To change the view, select the Scheduling Grid, and click on Scheduled Appointments.
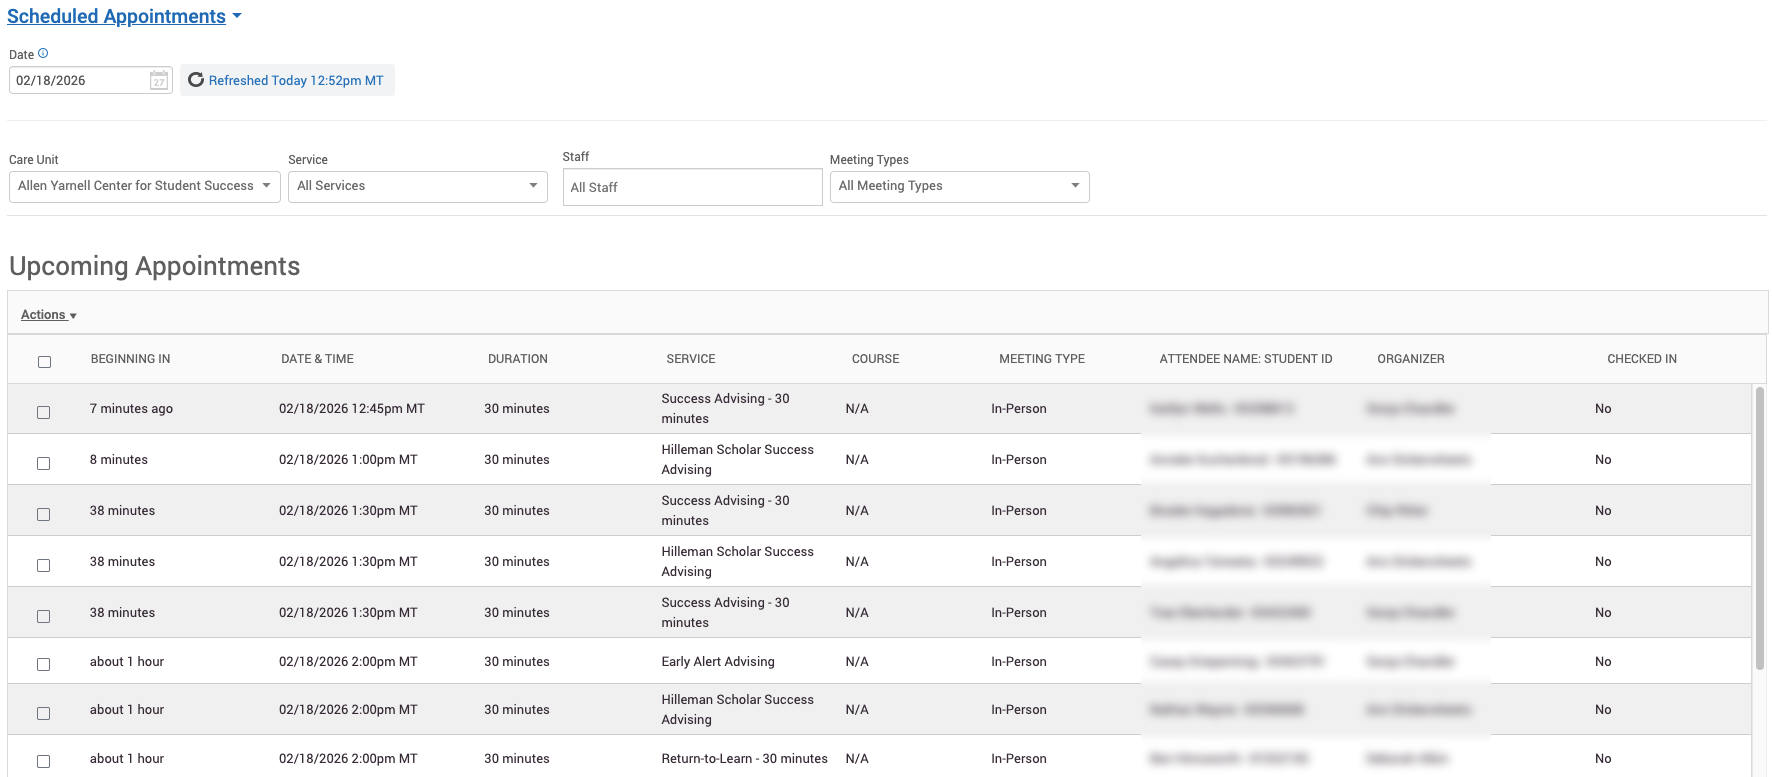
- Appointments can be filtered by date, care unit, service, staff, and meeting type.
Action can be taken such as sending messages to attendees, checking students in, marking
a no-show, or canceling appointments. The Upcoming Appointments section displays all upcoming appointments for the selected day.
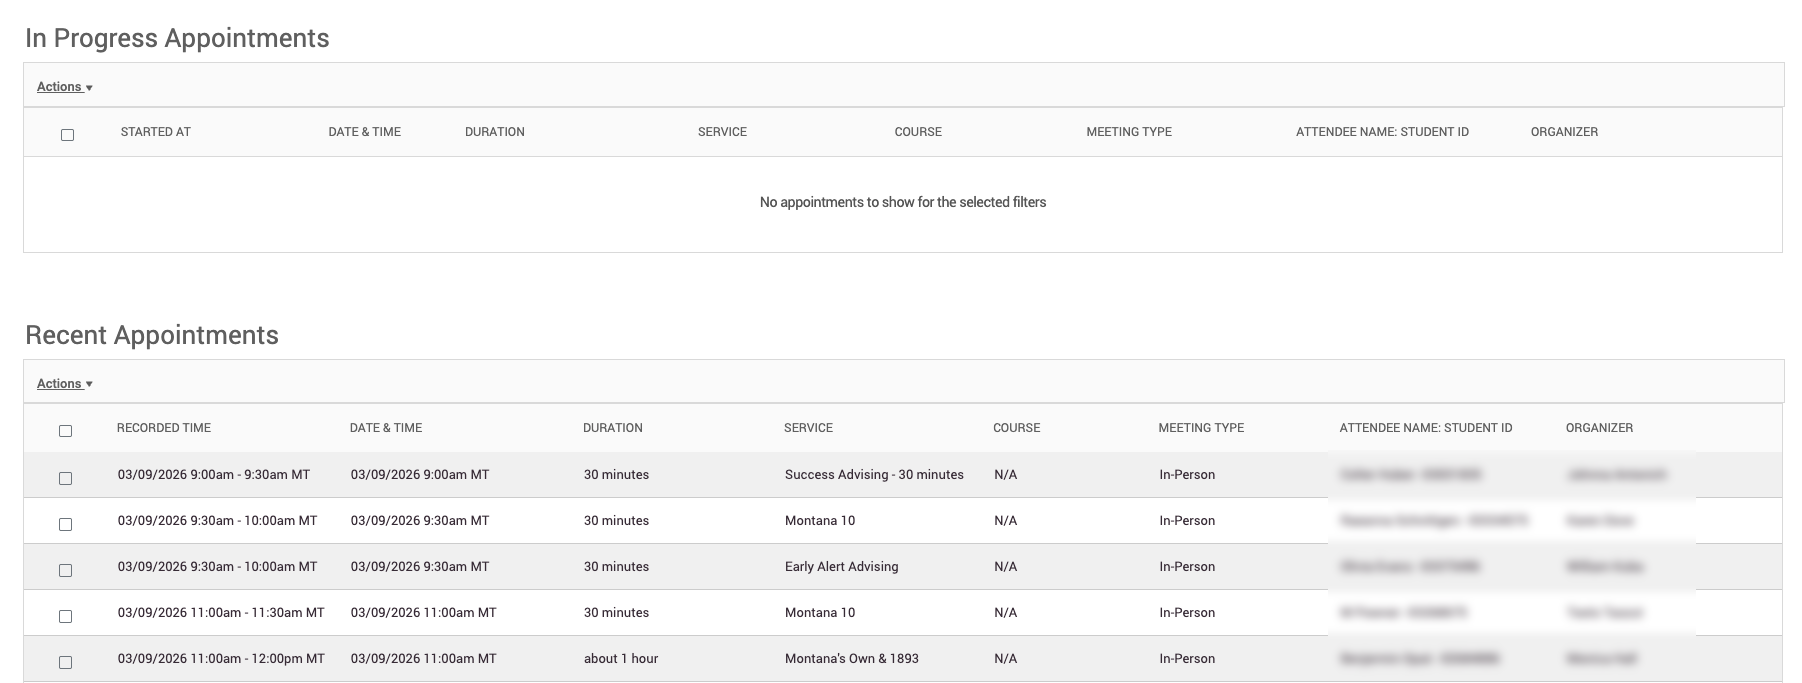
- In Progress Appointments are displayed only when a student has been checked-in by a staff member. The Recent Appointments section shows appointments once a staff member has marked a student as attended in
the Appointment Summary.
- Students can also be checked in for appointments from the Scheduling Grid. Enter the student’s name in the search bar to locate the
appointment and select Check In. You can also click directly on the appointment in the calendar view. The appointment
details will open and select the Check In Appointment button in the bottom left-hand corner.
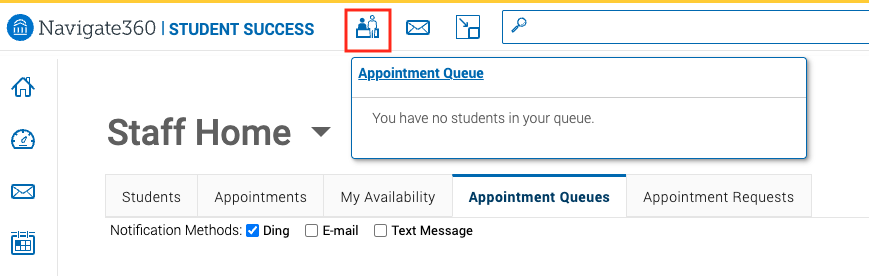
- The staff member will then receive a notification in the Appointment Queue. Users can adjust their notification settings in the Appointment Queue tab.